Introduction
IDEs are the best place to make your programming work easy, as it has built-in functions like debugging, code completion, compiling and syntax highlighting, etc. The most common IDEs are
eclipse,
Code::Blocks and
Visual Studio Community. All these IDEs are free and work on Windows and Mac OS X.
Code::Blocks is a free C IDE created to meet the most demanding needs of the developers of C. This is an IDE with all the features you need for C development.
Code::Blocks works on Windows, Linux, and Mac OS X as well.
To install
Code::Blocks on your computer:
- Download the Code::Blocks 20.03 installer. Windows, Mac OS X
- For Windows users: Run the installer. It is a standard installer for Windows; just press Next after reading each screen.
- For Mac OS users: Mount the disk image, it's a standard Apple Disk Image (.dmg). Copy the application to where you want it (e.g. /Developer/Applications).
You can find more information
here.
Installing Code::Blocks
Follow these instructions carefully. Do NOT just continue without completely reading each step of the instructions carefully or you will probably not install the software correctly. If in doubt ask a classmate or the instructor to verify what you are doing. If you cannot create a project after installing, then you will need to reinstall following these instructions more carefully.
- Download the codeblocks-20.03mingw-setup.exe binary for your computer from Windows
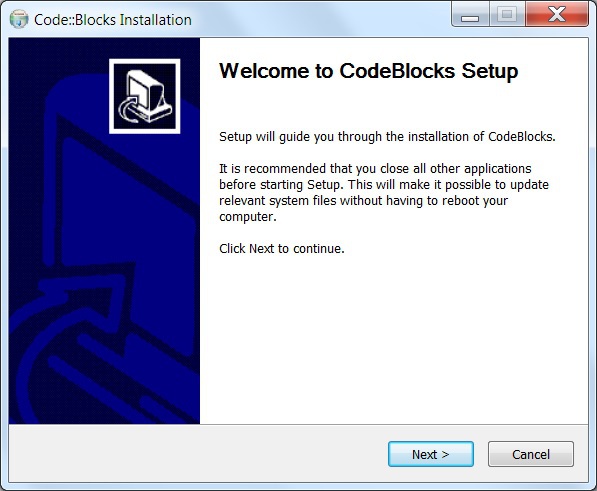
- Run the setup file and press the
Next > button after reading the dialogue
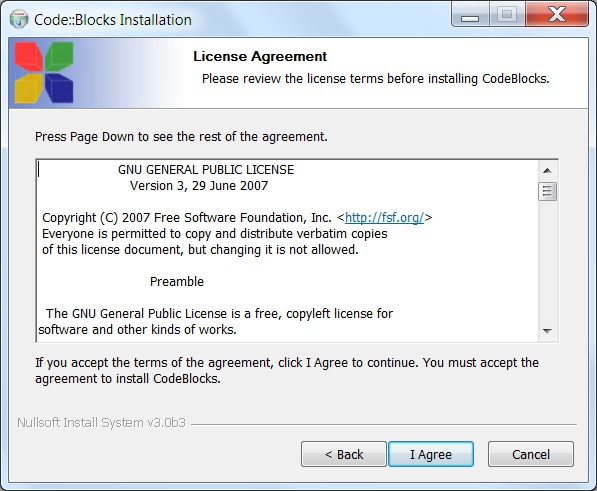
- Read the license and press the
I Agree button.
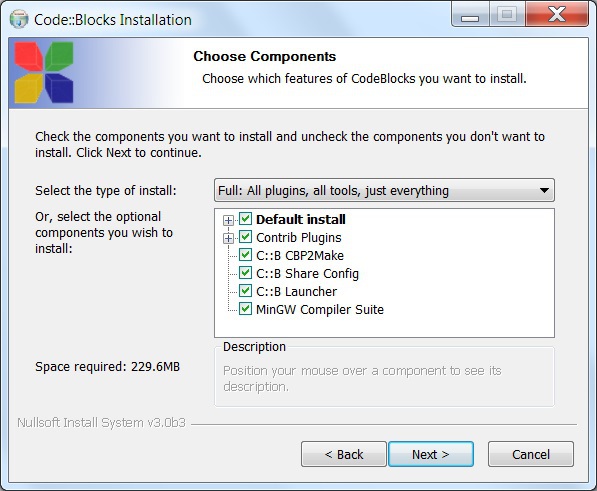
- Choose the default components as shown and press the
Next > button.
For Windows, if you do not see minGW go back to step 1 and download the correct file.
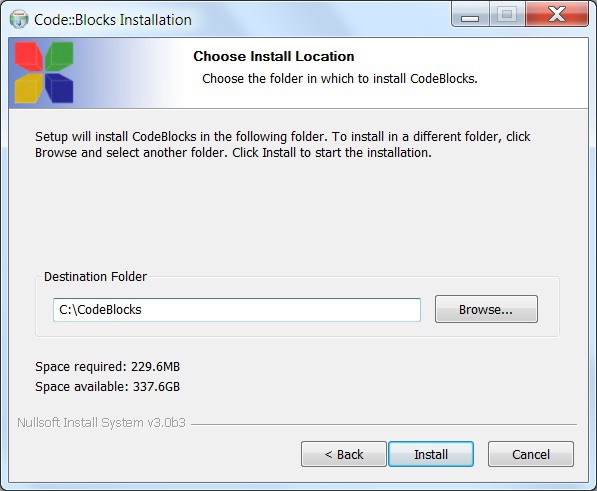
- Choose an installation folder (
C:\CodeBlocks) as shown below and press the Install button.
Do NOT use the default location or you may have problems later in the installation of SFML or the creation of a project. Instead, install at C:\CodeBlocks to make working at the command line and with SFML easier.
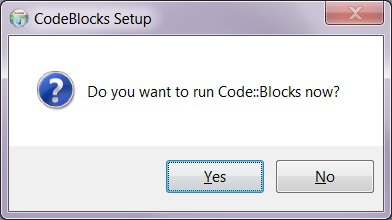
- Choose to run Code:Blocks now by pressing the
Yes button.
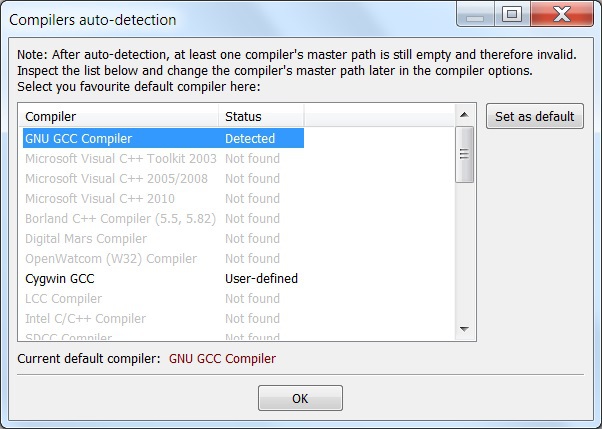
This step allows us to configure the compiler immediately. You can come back to this step if you decide to run Code::Blocks later.
- Select the GNU GCC Compiler as shown, press the
Set as default button and then press the OK button.
If you have previously installed Code::Blocks, you may not see this dialogue. If you are changing the compiler, you will need to manually set the compiler path (Settings -> Compiler -> Toolchain executables -> Compiler's installation directory).
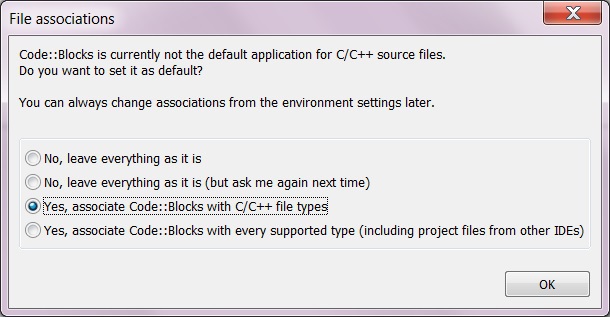
- Make a choice for the file association and press the
OK button.
Choosing to associate Code::Blocks with C++ files means that Code::Blocks will start automatically whenever a C++ file is selected, such as by double-clicking an icon on Windows. If unsure, select "No, leave everything as it is (but ask me again next time)".
- Exit Code::Blocks (
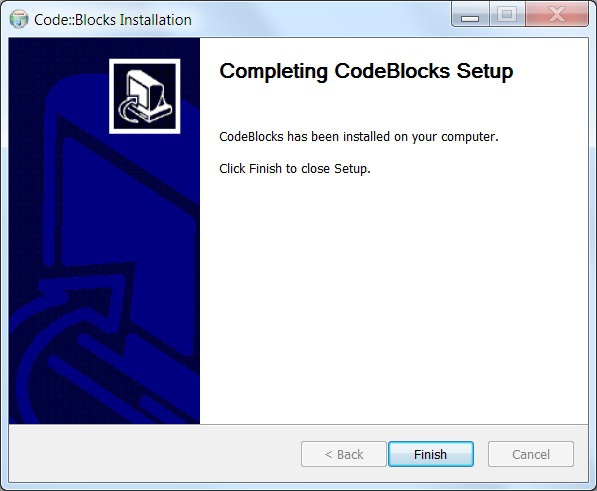
File -> Quit) and then press the Finish button to exit the installer.
