Technical Note - Submission System
Summary
The ECS Submission System allows students to submit assignments and projects electronically into a secure directory. This document illustrates how the submission system works. Please report any problems with this system to bugs@ecs.vuw.ac.nz (This Technical Note gives information about the submission part of the system. For information about marking submitted assignments see the AssessmentSystem Technical Note.)Details
The Submission system is a 3 step process:Step 1 - Select a Course and Assignment
Step 1 is fairly straight forward, just select the appropriate Course/Assignment that you want to submit files for. If you got to the submission system from a course webpage you probably won't need to even choose a course.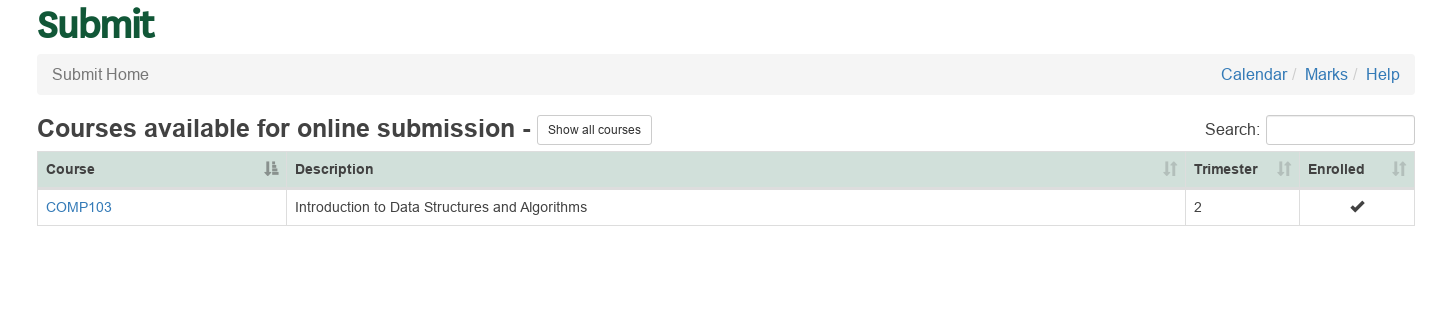
Select the course from your enrolled courses
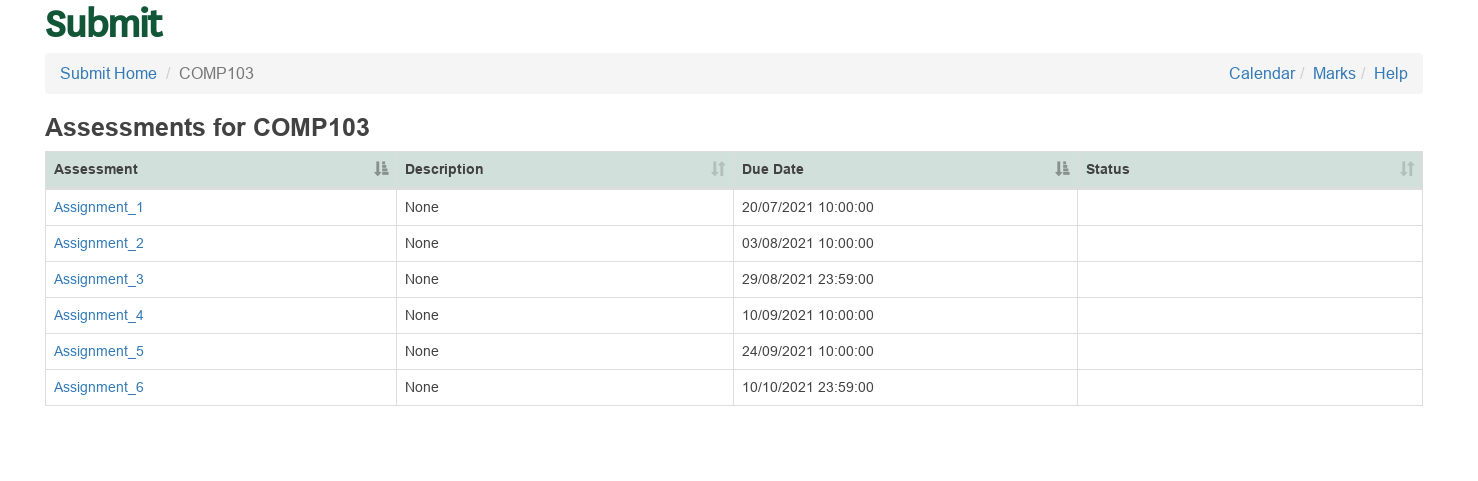
Select the assignment
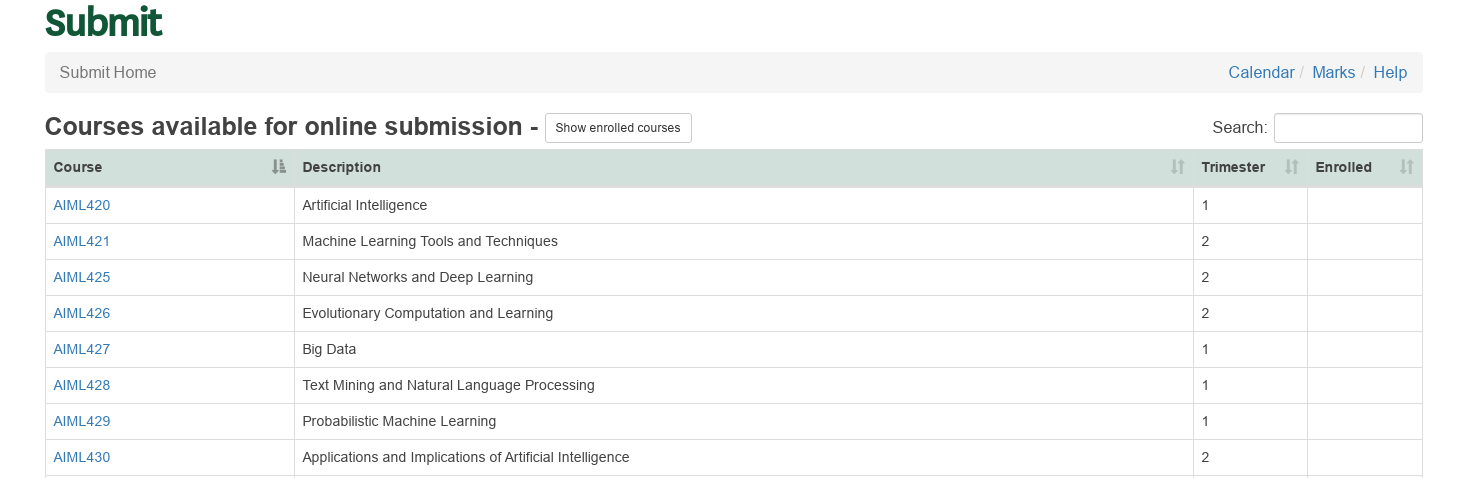
All courses shown after clicking on 'Show all courses'
Step 2 - Upload Files
Step 2 is where you actually submit your files. Click on the 'Upload files' button to open a dialog box to find the file you want to submit. Choose the file(s) and then click open/select (depending on your Browser). You can also select multiple files by holding the control button down while selecting. When the screen refreshes your file(s) should now be in the list of submitted files.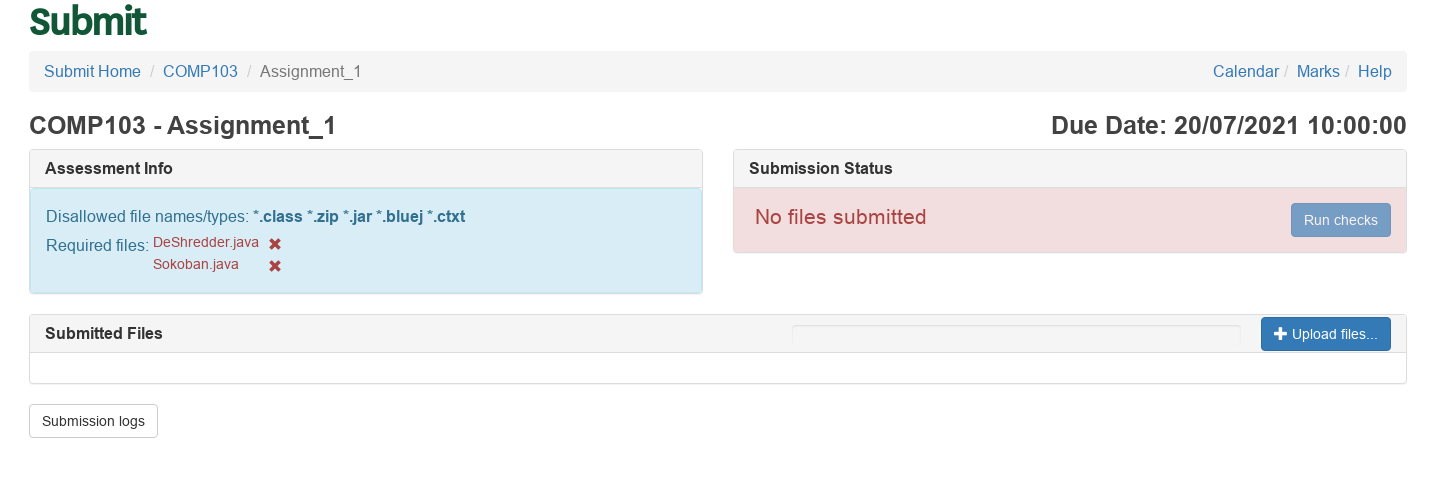
Click on the 'Upload files' to upload files
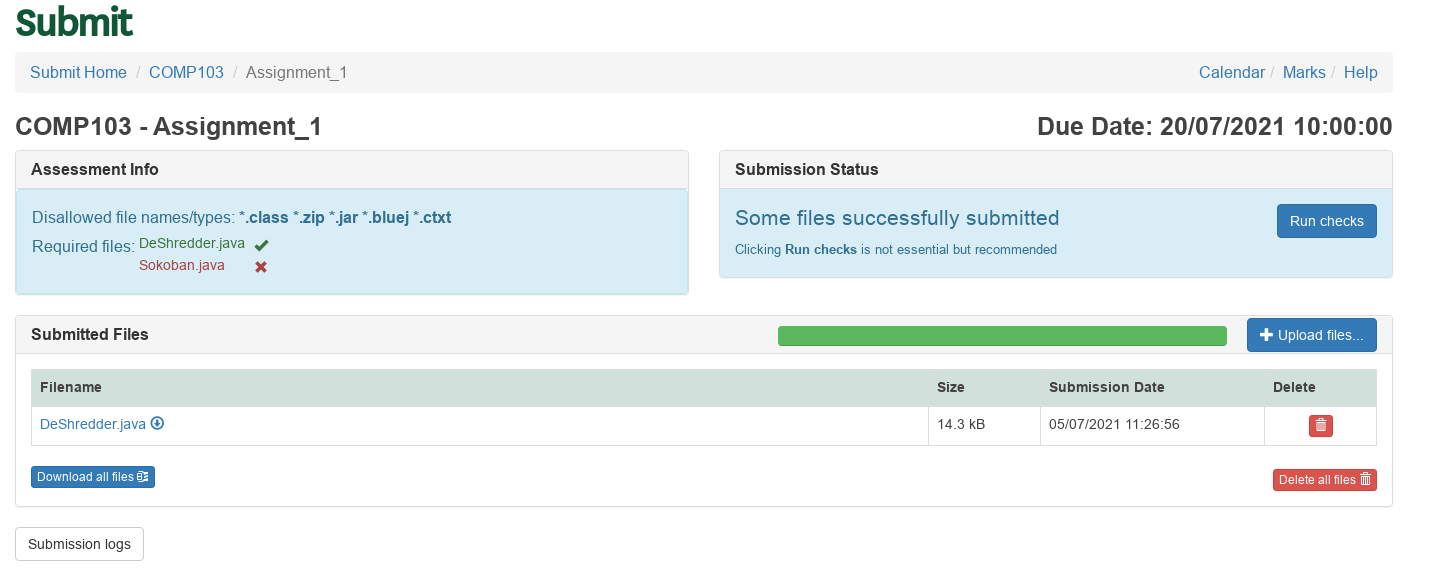
Page after successful file upload
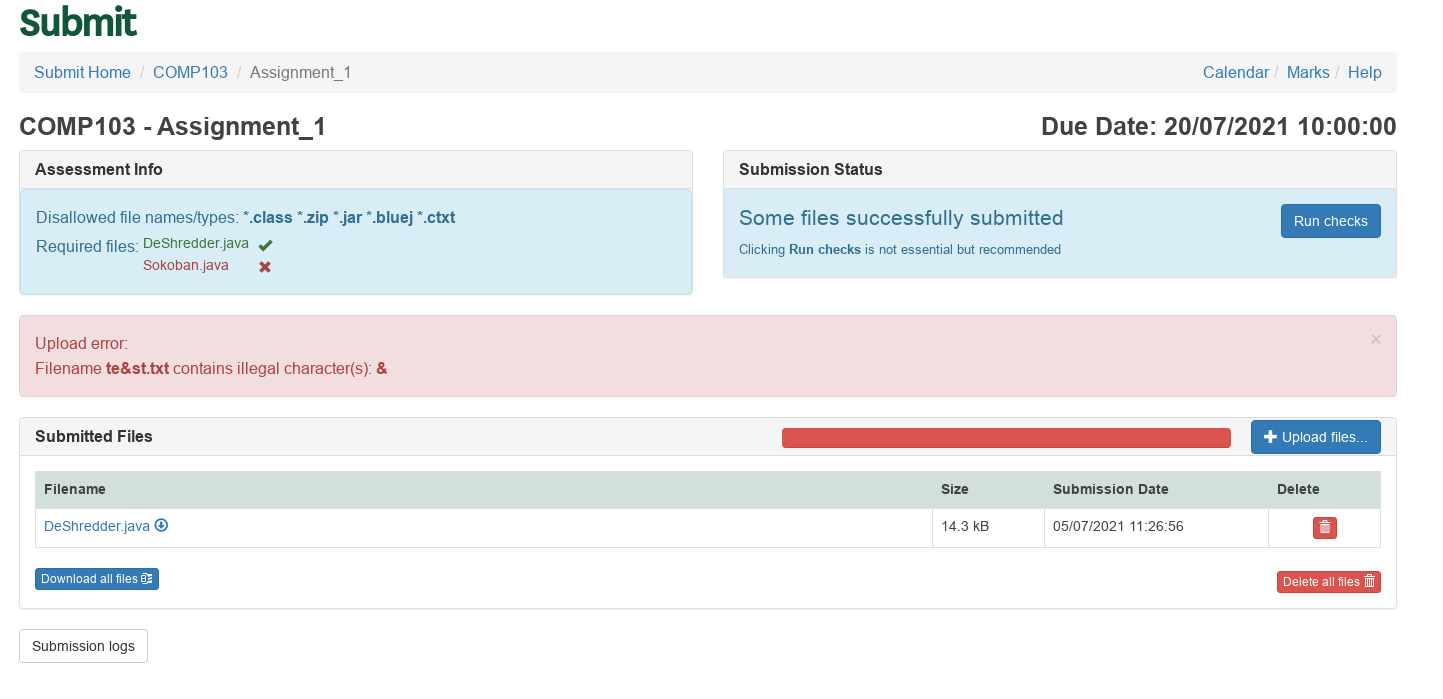
Upload error to fix
Step 3 - Complete Submission
After completing step 2 your files are safely submitted for marking. There is however a third recommended step remaining. It can be to 'Run checks' or click 'Done'.Run checks
When you click on 'Run checks' the following will happen:- Firstly it will run any scripts that your course lecturer has setup (this might be something like compiling the code that is submitted, checking the page count or even marking answers). Any feedback that is available from the script will be shown on this page. It is a good idea to read this feedback.

Problem with your code to fix
- Next if the checks were successful the status will change to Completed and an optional 'Email Receipt' button will appear.

Optional email button
- (Optional) You can now request a receipt email that will contain the following information:
- The course and assessment names (please check that you have submitted to the correct course and assignment)
- The list of files you have submitted
- Any feedback from any submission script
- A receipt. Keep this receipt until you have received your marks for this assessment.
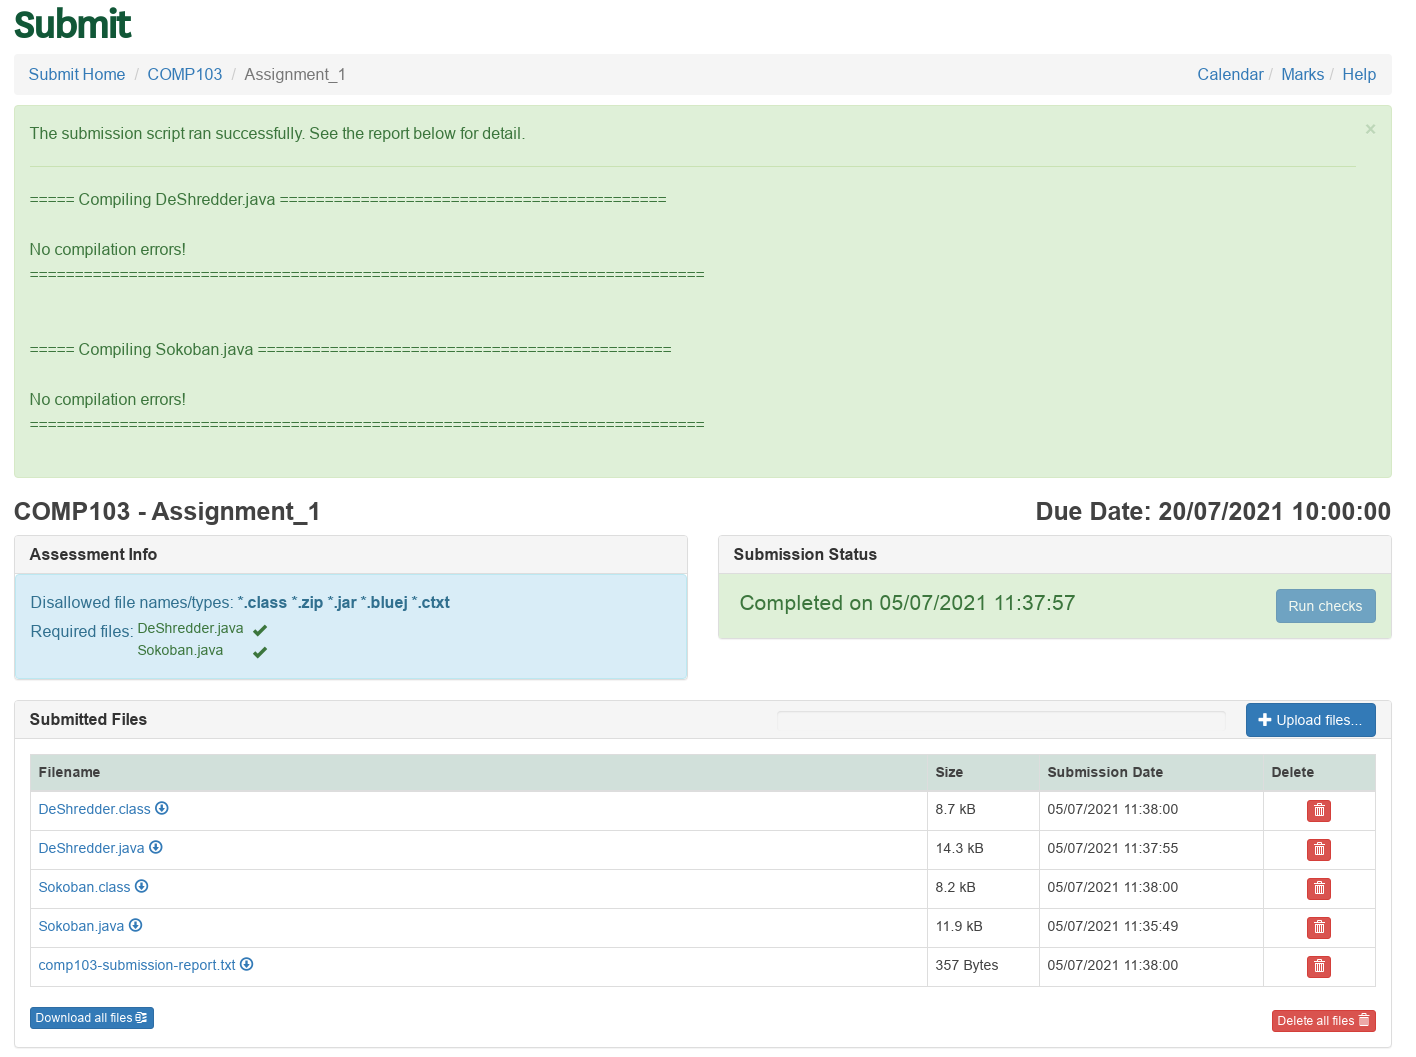
Assignment after checks ran successfully
Click Done
If there are no checks for you submission you can simply click on 'Done'. This change the status to Completed, and a button will appear to request an optional receipt email.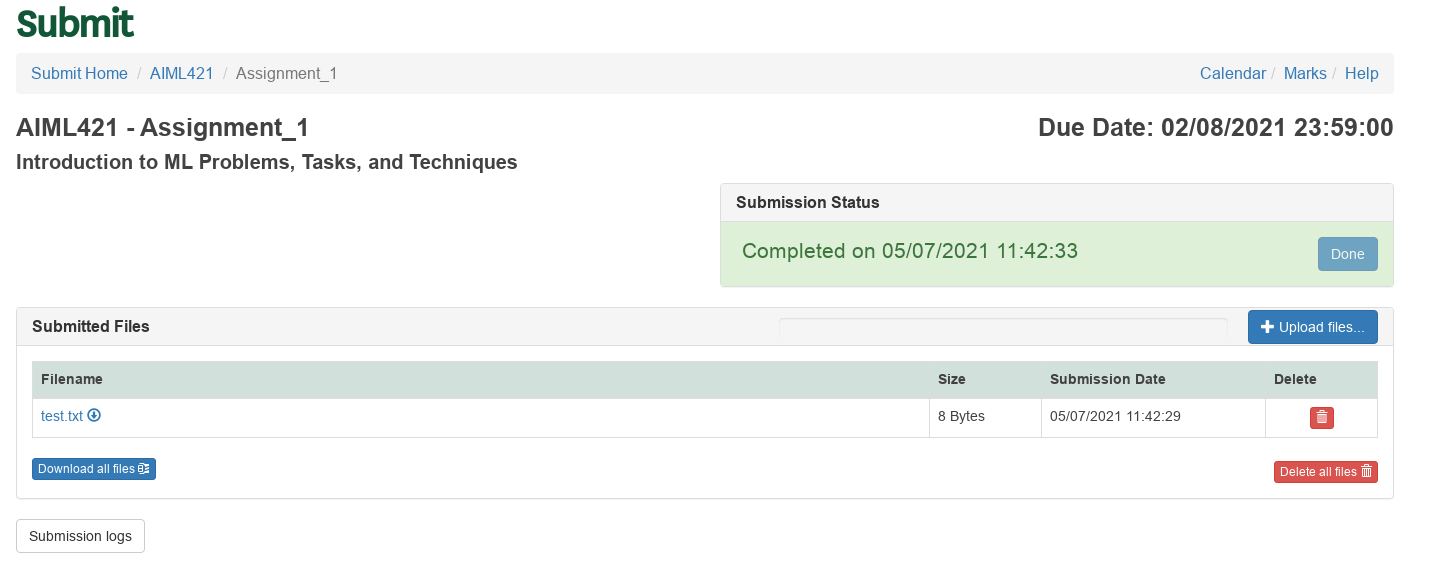
Assignment successfully done
GitLab Submission
Some assessments are setup to use GitLab projects for submission. These assessments will have a GitLab Submit button and a GitLab Information section that will give you more information on what will happen when submitting and where the GitLab project needs to be located. If the project you want to submit does not show, it can be because of one the following reasons:- No project were found - there will be a notice telling you to create a project first.
- You have deleted the repository from your project.
- The repository is completely empty.
- You have disabled the 'View and edit files in this project' setting for the project on GitLab.
Extension Requests
You can use the Submission System to request extensions for assignments if it is enabled for the course. Please note that this is only meant for exceptional circumstances or sickness.- Click on the Extensions link on the top right menu of your course's submission page to open the Extension Request page.

Link to Extension Requests
- On this page you can see all extensions you have been granted in the top table, and details on all the requests you have sent in the bottom table.
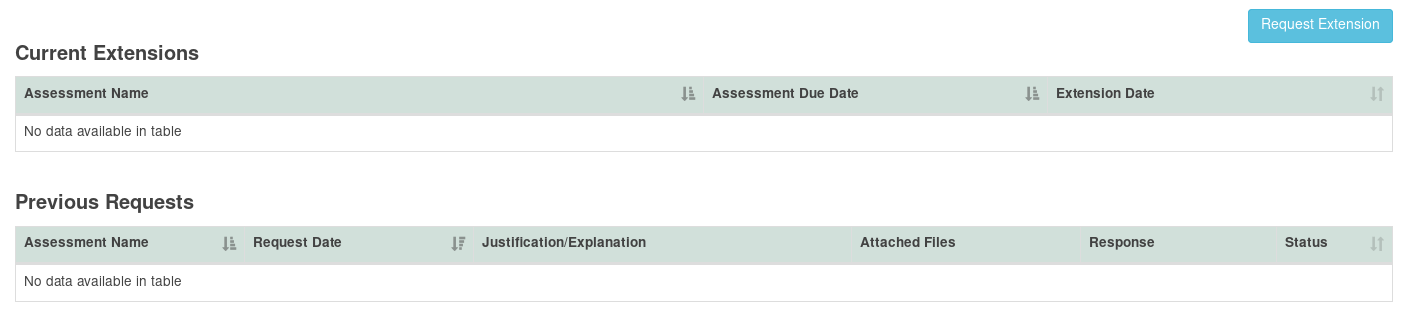
Extension Requests Page
- To make a request click on the "Request Extension" button. This will open a form that allows you to select the assignment, enter a Justification/Explanation, and attach supporting documents. Click on "Send Request" when you are done.
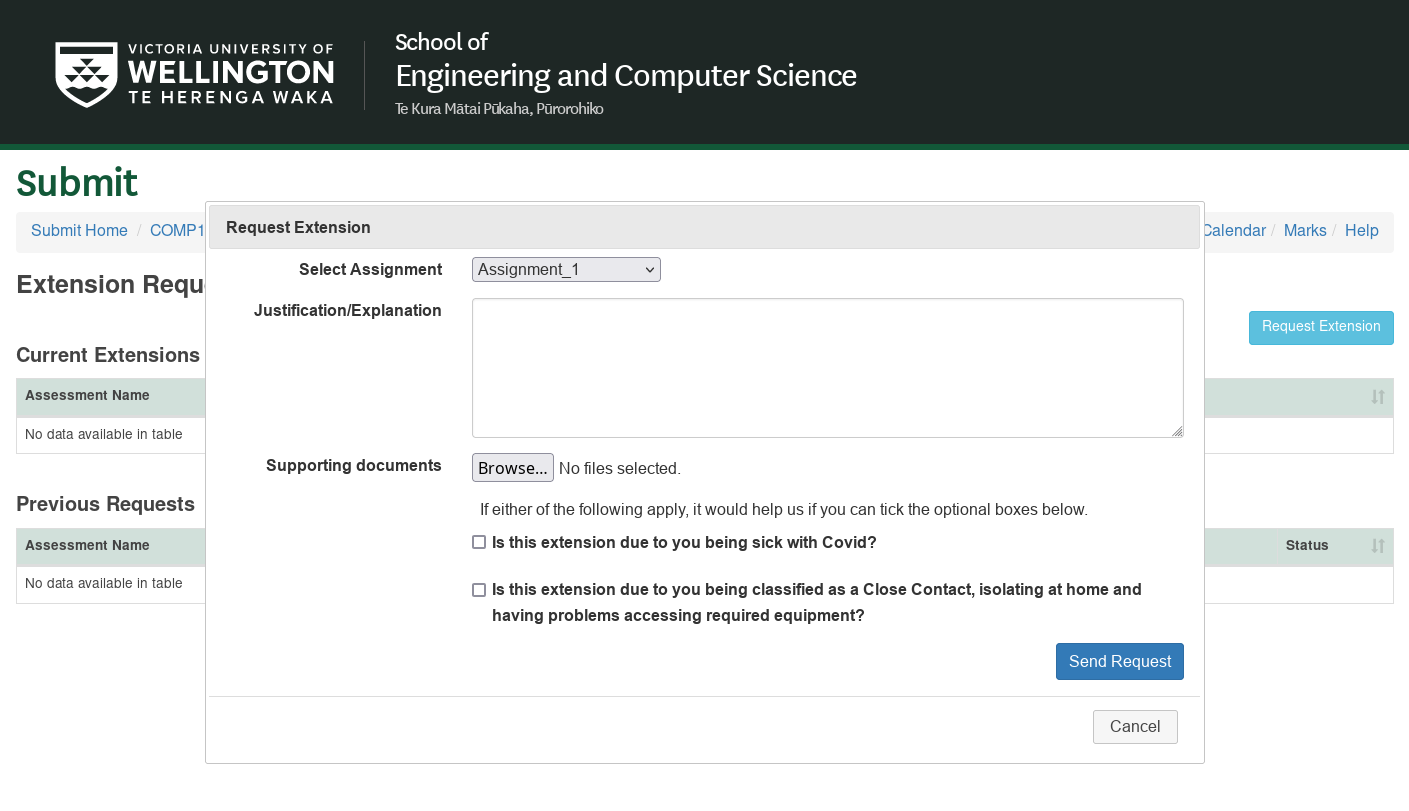
Request Extension Form
- The course coordinator will be notified about your request and you will then receive an email when it is approved or denied.